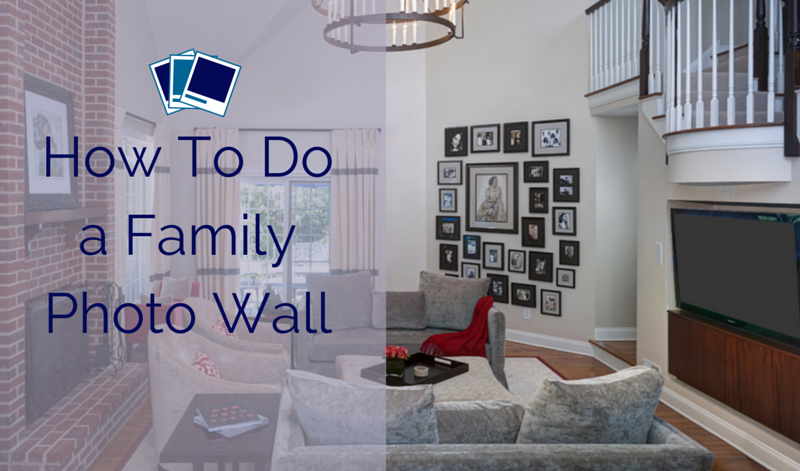
I have to admit, I am not a fan of photographs hung on the wall.. All too often, family photos hung on a wall look way too small for the wall in total, and done in a bunch, all too often it looks like visual clutter. That pretty much ruled out a family photo wall for this girl!
Then, enter stage right a client who had masses and masses of family photos they deeply wanted to display!
So, as I teach here at TIDA, what’s most important in your design projects is that you indulge YOUR design finger print, never anyone else’s. So, if this lovely client family wanted a family photo wall, that’s what we were going to give them!
And I’d love to share these great tips to help you get to a great result on your family photo wall.
1. Frame your items in the same – or similar frames. Here we used 2 frame styles, but in 2 different sizes each (4 total)
2. A family photo wall of color photos will create a cacophony in a room. Be careful! Instead, we went to a photo shop and had all of the color images – both the old and the current day ones – reproduced in black and white and even some sepia tones. The look becomes exciting when “truly old” black and white photos are sitting amidst more current day subjects because all are united by the black and white color.
3. You can have some photos made larger and some smaller with this trick!
4. Before you hang, spread out your framed pieces on the floor to decide what images look good near one another: Try to vary group shots and solo shots..
5. Give yourself a top line when you hang and work your way down from the top as you hang.
The result? A darned good looking family photo wall!
Enjoy!


